
You’ve finally landed your first client, successfully walked them through your onboarding process, and hosted a discovery workshop in order to get a better sense of their long-term goals. Now it’s time for the moment of truth: presenting your work to the client.
If you were like me when I first started doing paid client work, you have likely sent off a few JPEGs or a poorly formatted PDF presentation to your clients, hoping they would be able to review your work, understand your rationale, and draw a connection between the concepts and their original business objectives. In the most optimal cases, they may have been able to provide rudimentary feedback based on their personal preferences, but in the worst case, they may have felt like your work didn’t align at all with what they were looking for when they hired you, possibly forcing you to go back to square one.
If you’ve ever had an experience like this as I have had in previous years, there is a more professional approach to sharing your work with your clients, one in which your work is displayed beautifully, articulately presented, and is properly aligned with the client’s original objectives referring back to the creative brief, increasing the likelihood of buy-in and support from the client.
Prior to presenting your work, you have likely already done a lot of the critical thinking needed to execute a successful project. During the discovery you gained an understanding of what the client needs and what they are hoping to get out of the project, and you have received approval on creative direction and strategy thanks to sending over a solid creative brief. You got down to work and executed upon those deliverables, ensuring that the steps you took aligned with the research and strategy you worked through with the client in the early stages of the project. You have reviewed, revised, and hashed out your work internally with your team in order to ensure the work is as strong as it could be. Now, the time has finally come to present your work to the client.
Know who you are presenting to
Before you begin building your initial presentation, you should know who you will be presenting to. Your deck could be pixel-perfect with the best hi-res mockups around, but if you are not aware of who you are speaking to, your presentation could fall flat. Knowing who will be in the room when you present your work will allow you to tailor your presentation and make each person feel heard and represented. If there will be a large group, take time to review the headshots and names of each stakeholder so you can ask each person questions specific to their area of expertise.
Use these questions as a guide to help you prepare:
- What is each person’s role?
- Who will be the final decision-maker?
- What has been their experience working with designers in the past?
- What are their pain points? What are they most concerned about?
- What is their communication style?
Prepare before your client presentation
In order to showcase your work in the best possible way, it’s crucial to prepare for your presentation ahead of time. I have lost count of how many times I have presented creative work, but I certainly remember the presentations I did not prepare for. Walking into a room and winging it is the worst way to present and will likely end with sub-par results.
Refer back to the creative brief
Before building your deck, review the work you have created and ensure that it addresses the client’s original goals. Make adjustments as needed if you feel it does not align with the original objectives from the creative brief.
Practice running through your presentation ahead of time
Taking time to practice the speed and flow of your pitch will help things go more smoothly come presentation day. Be sure to give yourself plenty of time to explain the work. Don’t rush, and allow yourself to take natural pauses so your audience can comfortably view your work and digest information. Make adjustments as needed to any issues you run into as you practice presenting, anticipating any questions or negative feedback you may receive ahead of time.
Know where you will be presenting your graphic design project
Will you be presenting to one or two people, five, twenty? What equipment will be available for you to use? Will you need to bring an adapter, printouts, pens or notepads for your audience? Know what environment you will be presenting in and come (over)prepared. Come with a backup of your presentation, and have a client-ready PDF ready to send at the end of the presentation for review.

Build your deck
Now that you know your audience and how you will be presenting, it’s time to start building out your deck. While every project is different, the framework below is a great starting point for any creative presentation.
- Title slide
- Team introduction
- Recap of brief and project phase
- Process and strategy
- Concepts and rationale
- Structured feedback
- Next steps
Title slide
Including an initial slide with the project name, phase of the project if applicable, client name and logo, and your branding reminds the client what they will be reviewing.
Team introduction
While not always necessary, this slide is helpful when meeting stakeholders for the first time. Include headshots, names, titles, and roles for each person on your team, including what area of the project they are responsible for so stakeholders know who they will be interacting with throughout the project.
Recap of the creative brief and project phase
This section of the presentation is critical for getting stakeholders on the same page.
Many of your clients are busy, and it may have been a while since you last interacted since initiating creative work, so it can be helpful to review what the project is, the original objective of the project, any pain points that need to be addressed, and which phase the project is currently in.
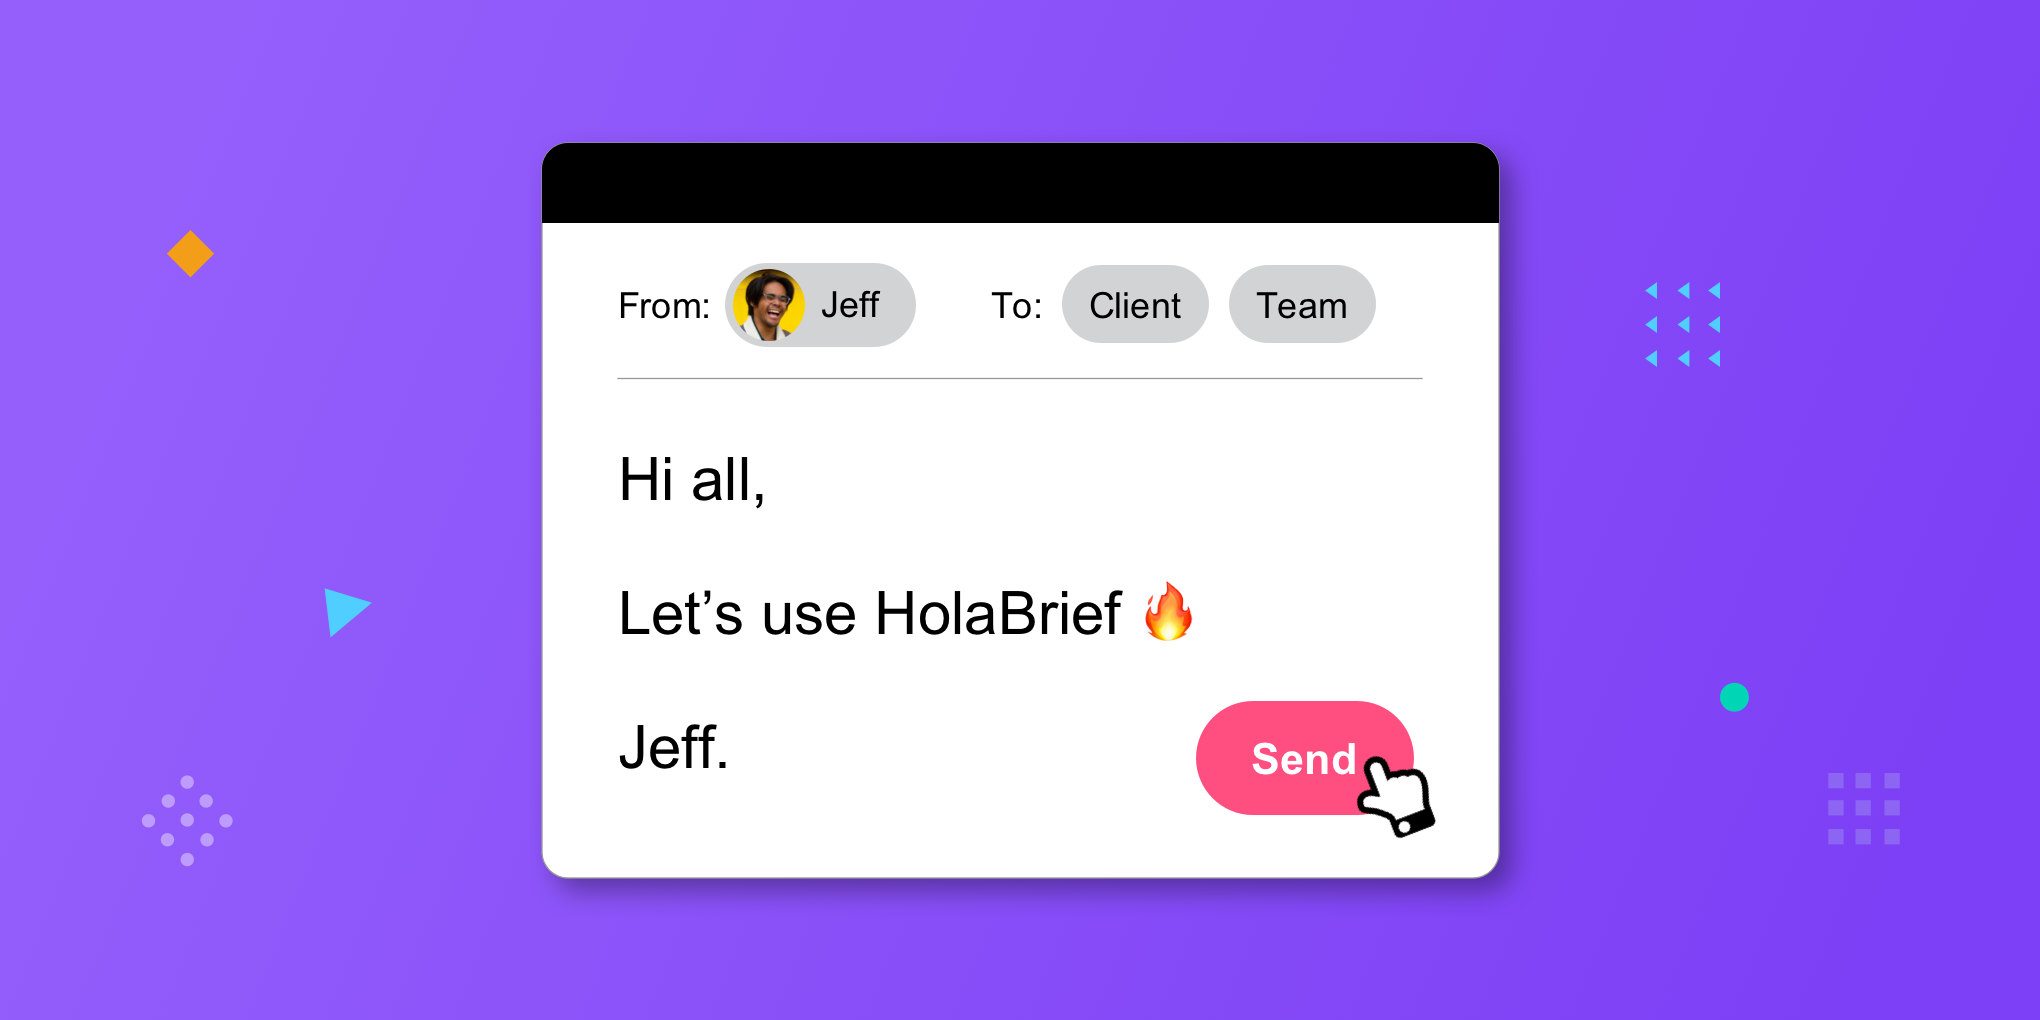
If you have it prepared, it can help to download the PDF version of the creative brief and bring a few printed copies to the meeting. HolaBrief's briefing tool works wonders here, as you can simply share or print the creative brief with all stakeholders. Have a nicely formatted overview of the brief in your presentation as a refresher as well. Include a roadmap slide, highlighting where in the process you are so everyone has an understanding of what has been completed up to this point, what to expect in this presentation, and any upcoming phases.
HolaBrief makes it easy to share your creative brief of the project with all stakeholders involved. Print it out as a PDF or share a customised project link.
Process and strategy
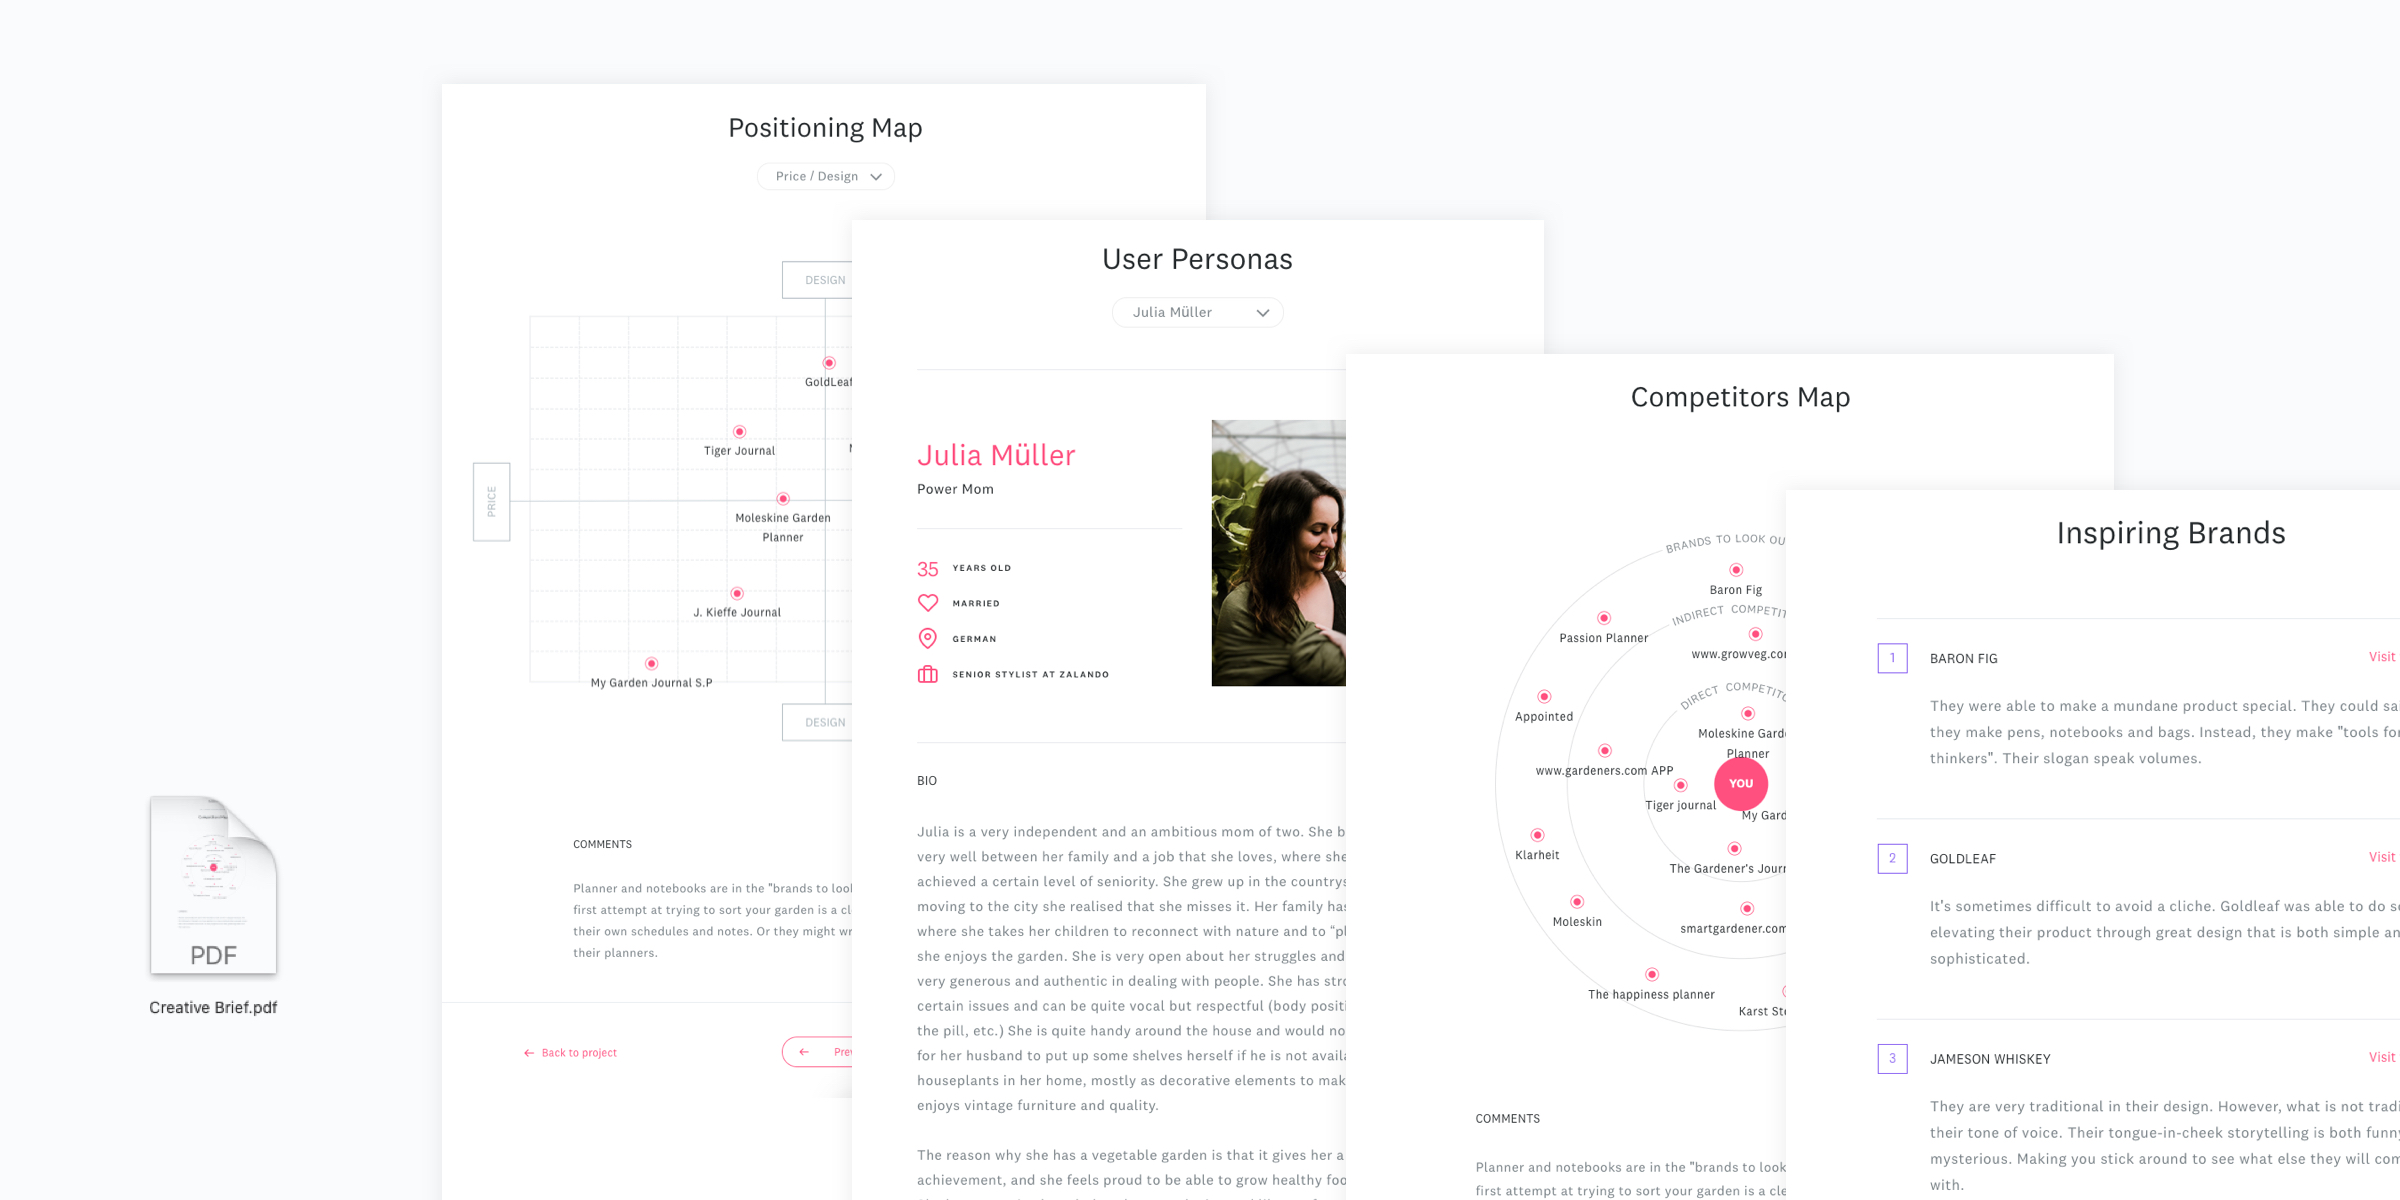
This is one section I notice many creatives fail to include: the lead-up and thinking involved in the development of the creative work. Include as many slides as necessary to walk through the critical thinking that went into the creation of the work, such as the strategy work that has been completed, inspiration, mood boards and initial sketches, and how each element addressed aligns with the client’s business objectives.
Tell a story with your process. If you were inspired by a mural you walked past on your way to a coffee shop that caused you to think about the client’s goals and how it could potentially solve a business problem, include it. Many clients are interested in what happens behind the curtain with creatives, and revealing as much of the process as possible is a great way to build their confidence in you and understand the thought and intention that went into the work. Build suspense with your delivery. Go from vague -- such as sketches and initial mood boards -- to more detailed -- such as refined concepts and layout.
If you have established brand attributes, values, or positioning, be sure to include a slide for that here as well.
Concepts and rationale
Now for the exciting part — showing your work. By taking the time to fully explain your thinking and strategy behind the work, it will be much easier for the client to understand why certain decisions were made and how they align with the goals stated in the creative brief.
When presenting, there are a few practical tips that can help make your presentation more effective.
If you are presenting a logo or brand identity, start by presenting the full-color logo on a white background, followed by a split-screen with the logo on a dark background and on a light background.
Next, showcase how the identity will look in use using hi-res mockups of small and large-format use cases, from business cards, letterheads, and mobile screens, to billboards and wayfinding. Resources like Adobe Dimension, LiveSurface, or Graphic Burger are a great place to look for and develop mockups. As designers, it is easy for us to think visually, but many of our clients are not as adept at visualizing what the work will look like in use. Including as many mockups and use cases of your work will not only help them understand the work in context, it may help you land more creative work.
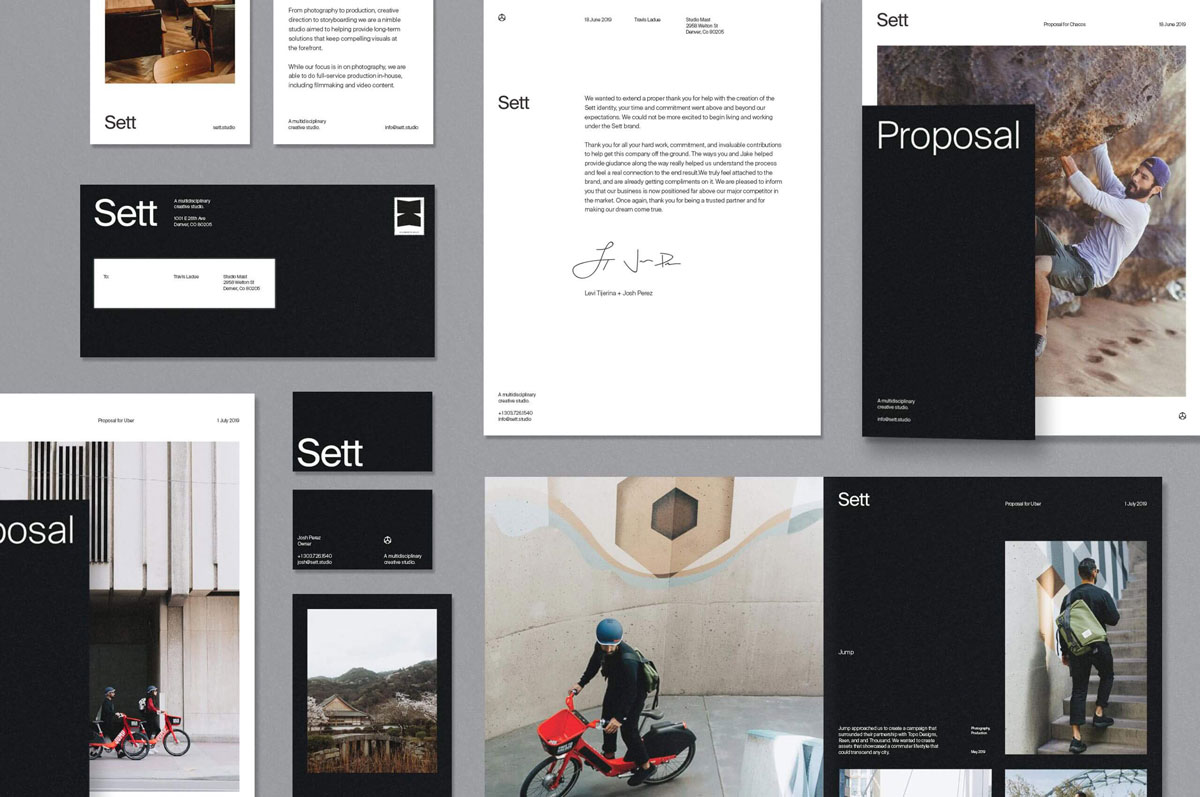

Excellent examples of high-quality mockups by Mast Studio
Finally, end with the full-color logo on white. Repeat these steps for each concept.
As you present each concept, walk your client through the story behind each piece, including why you chose to include certain elements and how it ties back to the original objective from the creative brief. Adding a concept title and statement for each can help the client differentiate each visual direction. It can help to include a visual breakdown of certain elements to further illustrate how you arrived at the final product. Use plain language and stay away from overly technical words that may intimidate or confuse the client. Many designers get caught up in describing the nuances in typefaces or other small details instead of focusing on how the overall work will successfully achieve the client’s objectives. Be confident as you present -- your confidence will be apparent to the client and make them feel more sure of your expertise, the strength of the work, and their decision to hire you.
Once you have presented all of your concepts, starting with the most on-brand or on-message concept first (2-3 concepts is generally a good number for most design projects), show all concepts next to each other on one slide to compare and remind the client of what has been reviewed.
Gather feedback
After the client has had some time to digest the concepts you’ve presented, guide the client’s feedback by asking specific, direct questions that align with their original objectives from the creative brief. It may be a good idea to include a slide with a few of the questions you would like to address to help everyone remain focused.
Here a few questions to help you get started:
- Does this reflect your brand voice?
- Do these concepts address your users’ needs based on our previous research from the creative brief?
- Does this align with your current brand or advertising strategy?
- How would your target audience react to this?
After asking a few pointed questions, sit back, and listen to the client’s feedback. Though you are an expert when it comes to the design side of things, the client will ideally know their industry well and can provide valuable insight that may help further guide the work. Be sure to take notes as you listen to your client. You can have someone else on your team take notes or record the meeting, but in the best scenarios, it’s ideal to do both so you have something to refer back to when going into the next round of creative. It’s important to note that you should not be expecting creative direction from your client, simply their feedback and perspective on how well the work aligns with their original goals.
On the same note, if the client shares something you may disagree with from a design perspective, feel confident in pushing back and sharing your expertise. They hired you for your knowledge and perspective and will respect your opinion.
It’s important to remember that the client’s personal preferences are not necessary to address during these presentations.
If the client starts to deviate from the conversation by stating their own personal preferences for design, gently guide them back toward the original objectives from the creative brief and how your work provides solutions to those pain points.
The client may not always have feedback to share immediately. Oftentimes they are part of a larger team that needs to review the work. Have a PDF version of the presentation ready to share with the client before they leave so they can review and provide more thoughtful feedback.
Wrap-up and next steps
Once you have gathered initial feedback and answered any lingering questions, conclude the meeting with a recap of what stage of the process you are currently in, along with the next steps and assignment of responsibilities. For example, you may be in Round 2 of 3 of logo identity concepts and their feedback is due back in five business days. Be sure to include this on a final slide to remind them of upcoming items. Afterward, send an email recapping the full meeting with a few high-level notes and action items, along with a PDF of the presentation.
—
The creative brief should be your guideline throughout the entire design process. HolaBrief makes it easy to share your creative brief of a project with all stakeholders involved, so everyone is on the same page, all the time. Learn more.