
When you first start a project with a new client, the act of explaining your process and giving them access to any collaboration software is called on-boarding. A solid on-boarding can show clients that you are organised, helps to avoid scope creep and overall creates a happier collaboration. Clients who feel comfortable will come back for more projects and you might even get a referral down the road!
These 6 steps are used by most design companies, but the difference is in the details. Keep reading to get tips on the best tools, how to on-board without overwhelming your client and much more.
If you find this helpful, you can download a full checklist, complete with templates and email scripts by clicking here.
OVERVIEW:
- The Brief
- Invoices and contracts
- How can they reach you?
- Timelines, homework & deliverables
- Feedback
- Addressing questions
The Brief
A clear brief means everyone is on the same page from the very start and it will save you a ton of time and guess work. Ultimately you will be able to get to the root of the problem you are solving and create a meaningful solution.
To start the project off right, you need to make sure you ask the right questions. The goal is to find out why your client approached you - their pain points and to learn more about their customers, goals and products.
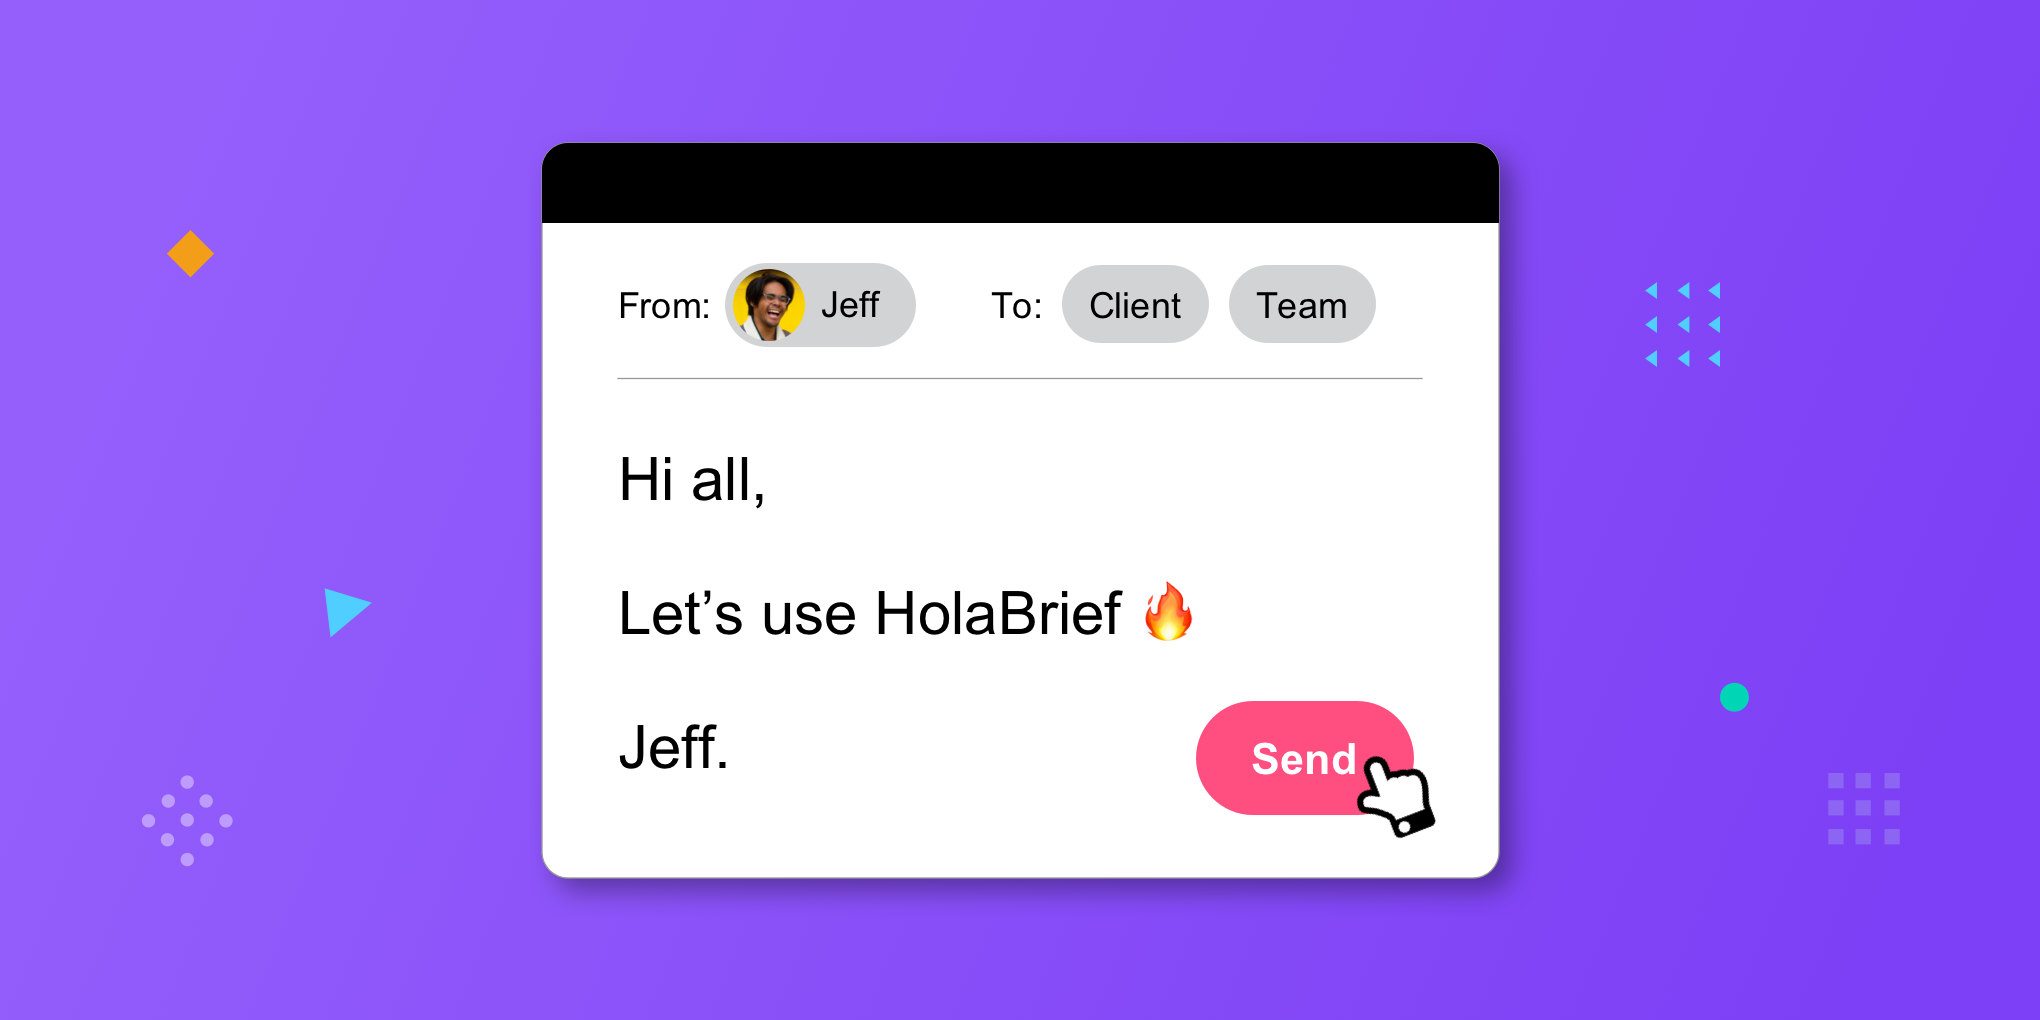
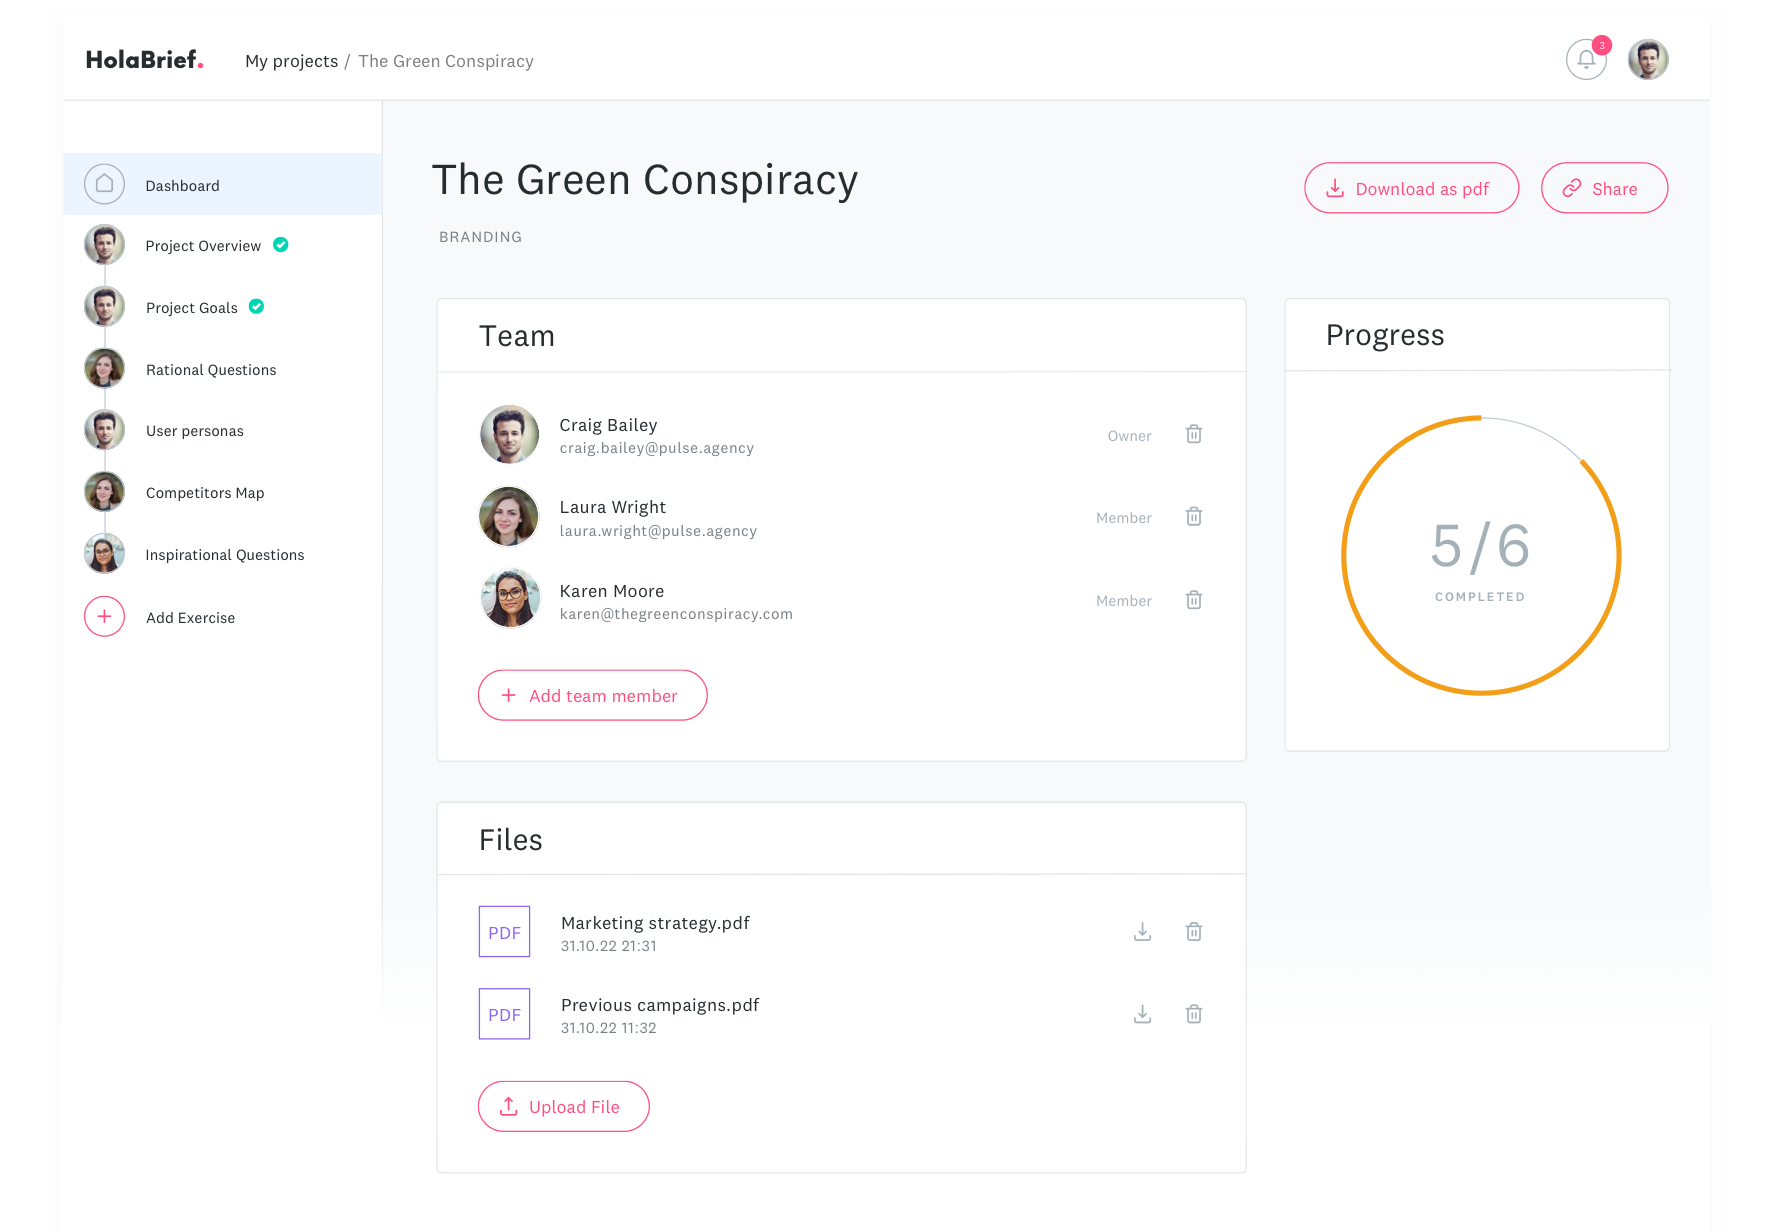
One option is to send a shared document with questions to your client or have a phone call or in-person meeting, but this can be really difficult when your client’s team has multiple people. A great solution is to use HolaBrief. In this strategic briefing tool, you can set up custom briefing templates and add the full team. You can select the strategic exercises you need from your client and assign them to the right person who can help you fill in the missing information. This is a great way to catch questions you normally forget to ask and all the answers are kept in one place and available 24/7 throughout the project.
Invoices and Contracts
A contract is a great way to let your client know what is important to you and shows that you are serious about the project. For most creatives, a single page document outlining who owns the rights to the design, what happens if either party decides to terminate the project and how you will deal with payments is a great start. If you are curious, you can download the on-boarding guide with a full checklist here.
At this stage, your client has said yes to your proposal so they already know how much they should pay. Here are some handy things to discuss with your clients.
1. When is the payment due? What payment methods can they use? If you are using an online software such as Xero or Quickbooks, you can often offer multiple payment options. Softwares also help you keep track of late payments and can often give you a summary for your taxes at the end of the year.
2. How is the payment structured? Will they pay everything all together or is the payment split into deposits or as a monthly retainer?
3. How can they sign the contract? Should you meet in person or will you use an online platform like Signable or Honeybook?
4. Send a payment receipt and a copy of the signed contract. Ask if your client has any specific requirements for the receipt. This often happens if they have received external funding.
How can they reach you?
Unless you ask, clients will not know how you prefer to be contacted. It is easy to find yourself in the spiral of endless emails from people you never knew were involved. Help your client be great by taking them through these steps.
1. Let your client know where they can reach you. Do you prefer email or do you use a project management tool like Basecamp or Trello?
2. Introduce your team and ask the client to assign a contact person. It is important to explain why a contact person is selected and what their role is.
3. Tell your client when you are expecting to hear from them. This might seem a little harsh, but knowing exactly what is required will leave your client feeling confident that they are fulfilling their role. Can they get in touch about ideas they have once you have started designing, or are you only looking for feedback at certain stages?
Timelines, homework & deliverables
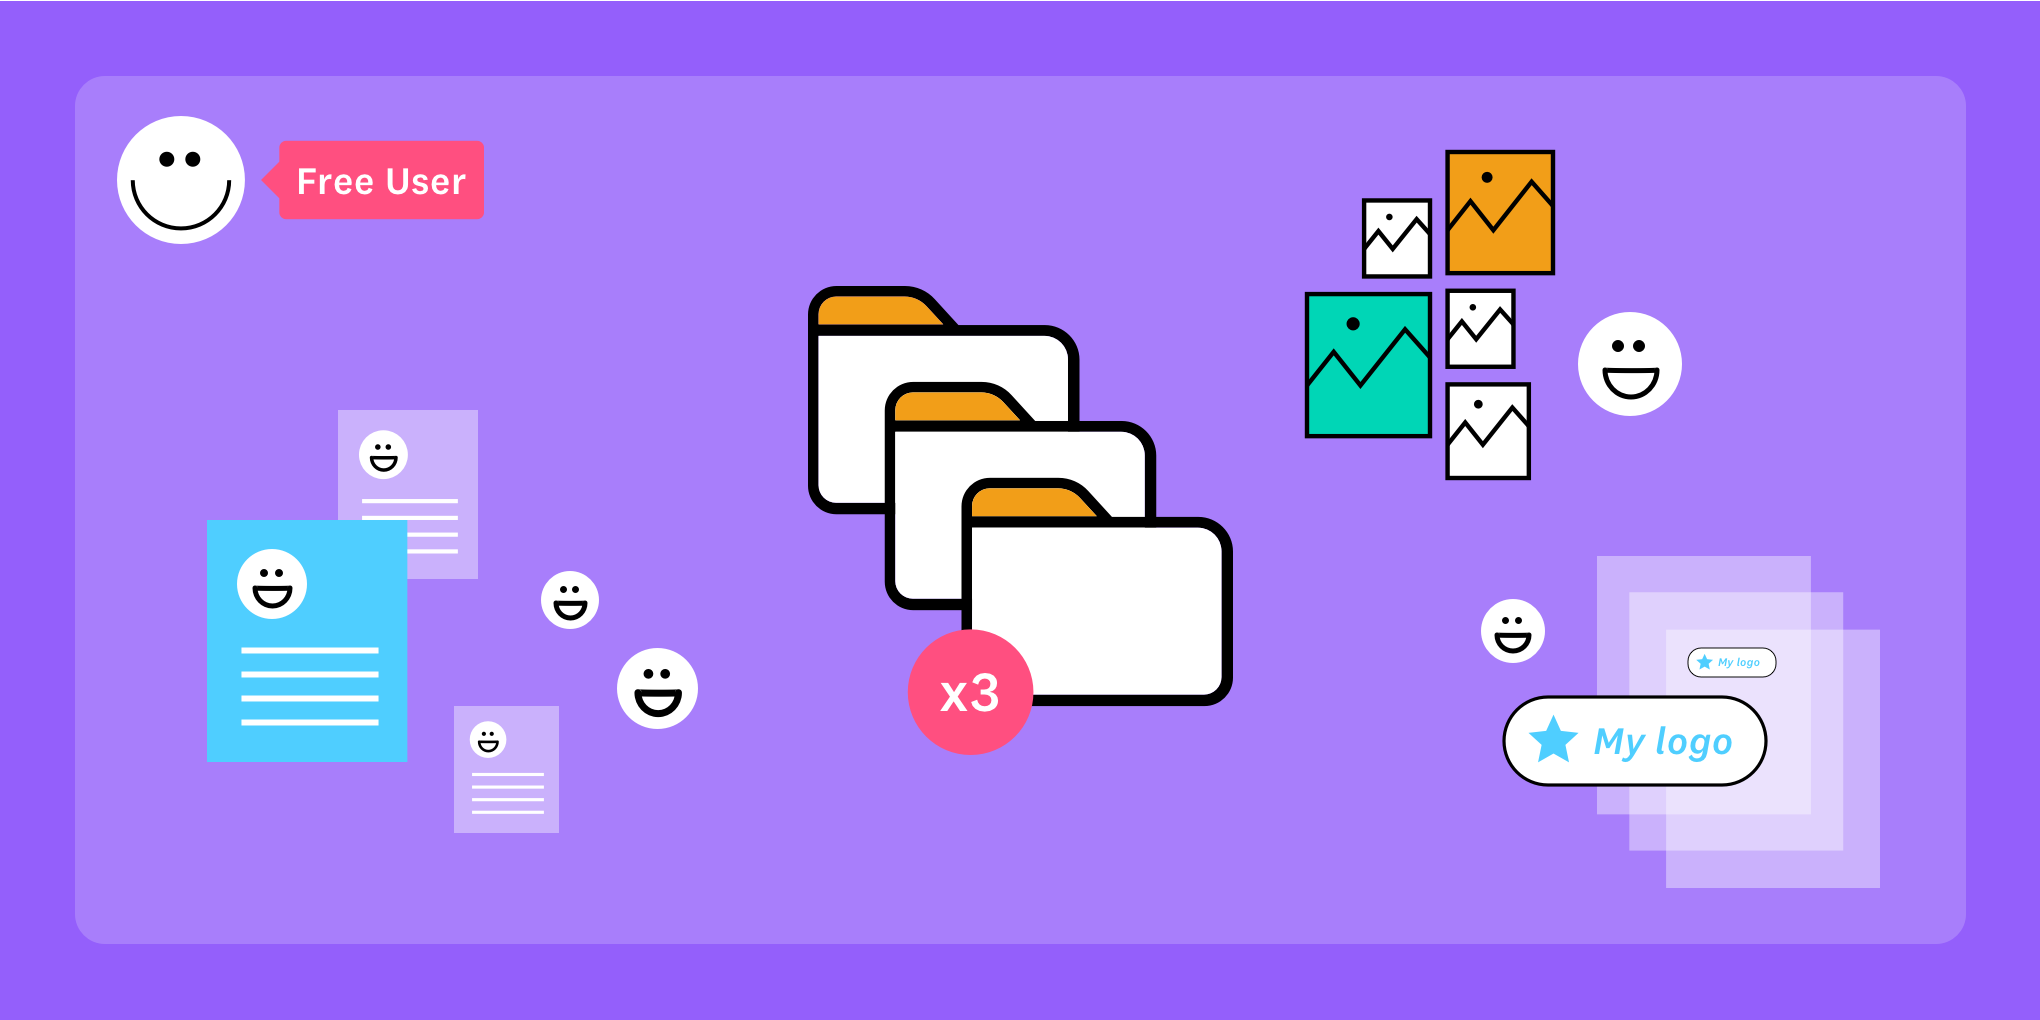
Some or all of this might be clear from your proposal, but it could be helpful to send a quick checklist which outlines future dates and deliverables. If you are worried about scope creep, including the number of revisions can be helpful. You can also create a list of things for your clients to complete, such as sending you their old logo or copy for their new website. All these details can be wrapped up neatly in a welcome packet that you can adapt and reuse for each new client.
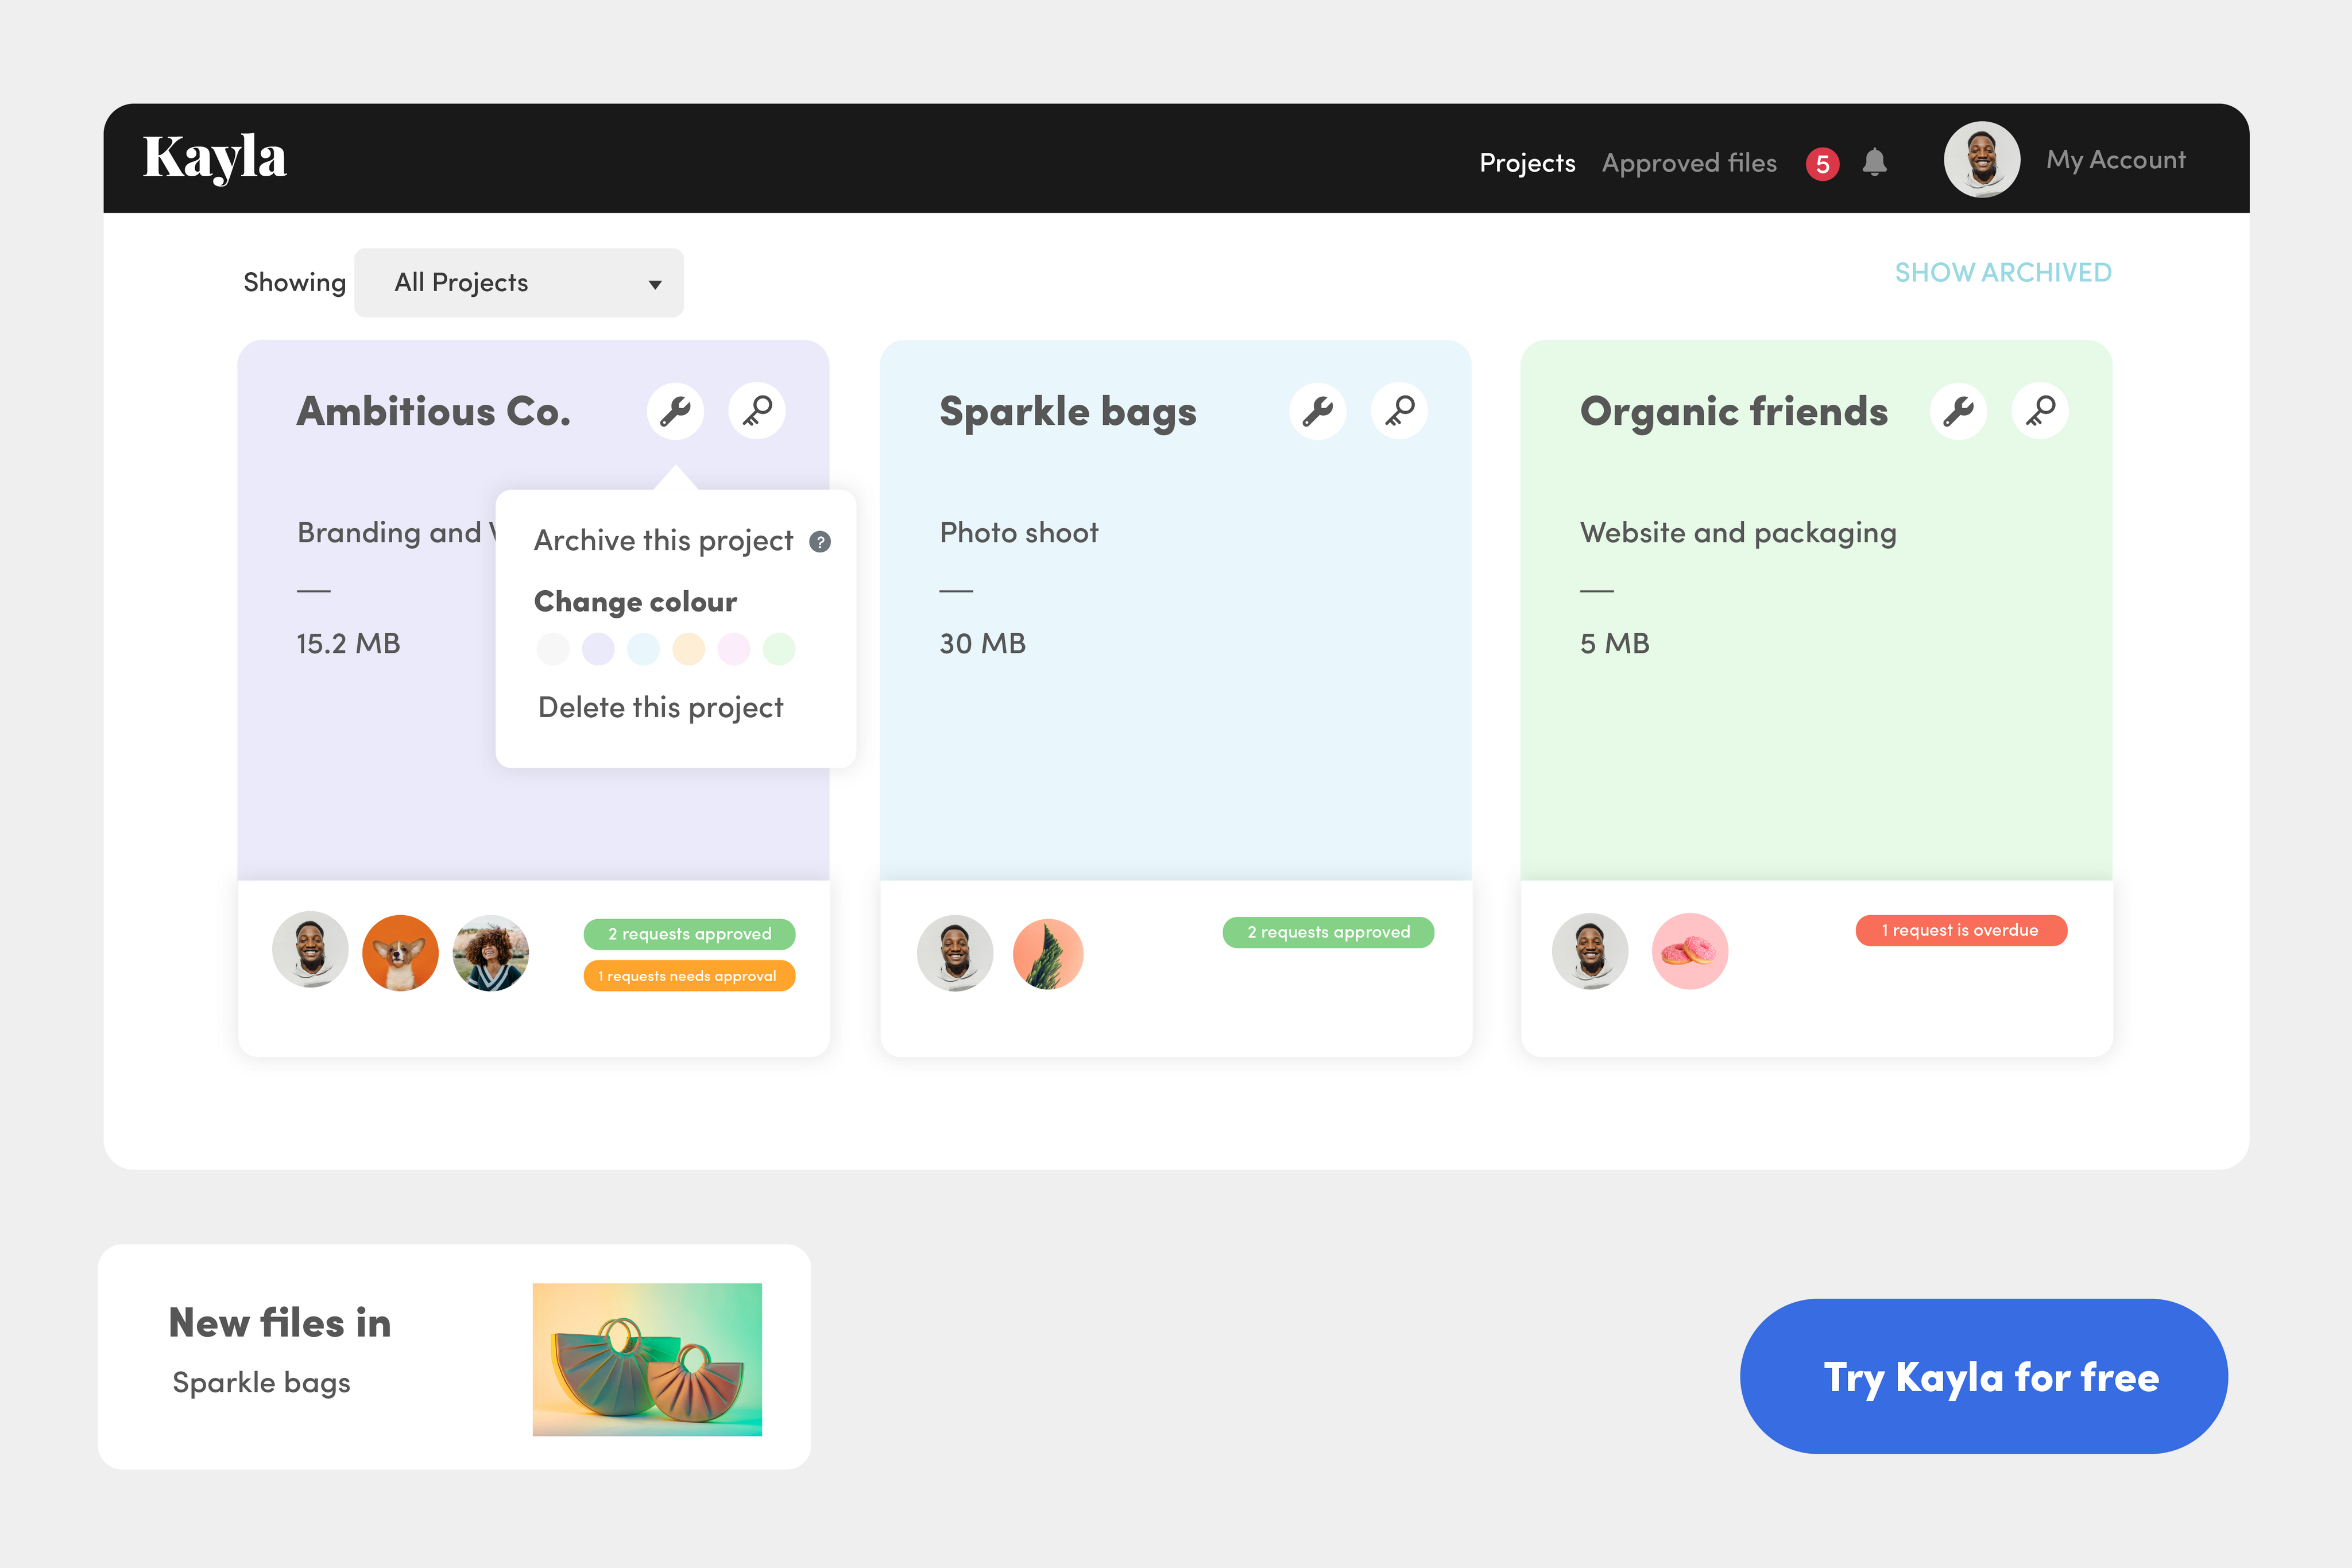
To make it easier to collect content, especially if there is more than one person involved, you can use a content collection tool like Kayla. In Kayla, you can set up requests for the files you need and set due dates for each stage. You can then assign the request to your client and Kayla will automatically remind them for you if they forget to submit something on time.
Kayla is also a great tool if you have a team or hire external creatives to fulfill certain parts of the design project - such as freelancers, photographers or copywriters. You can then set up requests for each person and set different levels of access. This way everything is organised, time stamped and shown only to the right people.
Feedback
If you are always receiving feedback in person, sending a simple summary of changes after a meeting can go a long way. However, if your client is messaging a list of changes and questions, it is good to on-board your client on how you prefer to receive this before you start.
1. Who can offer feedback? If more people than the contact person will be involved in the decision making process, explain to your client how important it is that anyone involved knows the reasoning behind your design choices. If you have created a persona, remind them to keep this in mind.
2. Will you be using a separate software to receive feedback? If you prefer to have comments straight on the design rather than as written bullet points, platforms such as Invision and Red Pen can be a great way for clients to give feedback. Google Drive also offers the ability to add comments to shared files.
Addressing questions
No matter how perfect your on-boarding, there might still be a few questions along the way. Make sure it is perfectly clear who is involved in the project, what their roles are and that everyone has access to the right information. I suggest always adding the contact details as well as their roles in your proposal and collaboration software.
The client on-boarding process can be smooth and fruitful with the right approach. Download our on-boarding checklist and start impressing your clients, get more referrals and grow your creative business!
You are all set, happy designing!